Wholesale Price Serrated Gasket to Comoros Manufacturers
Wholesale Price Serrated Gasket to Comoros Manufacturers Detail:
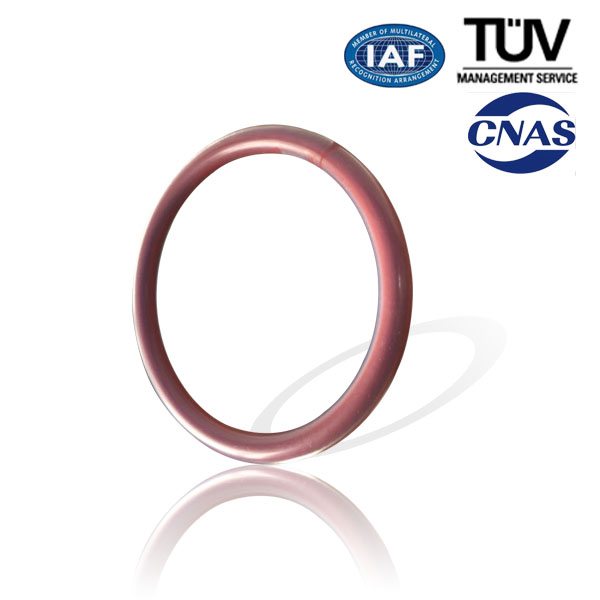
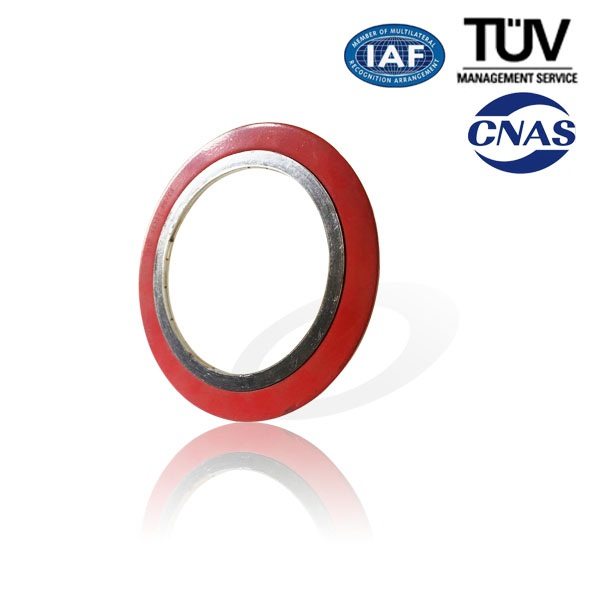
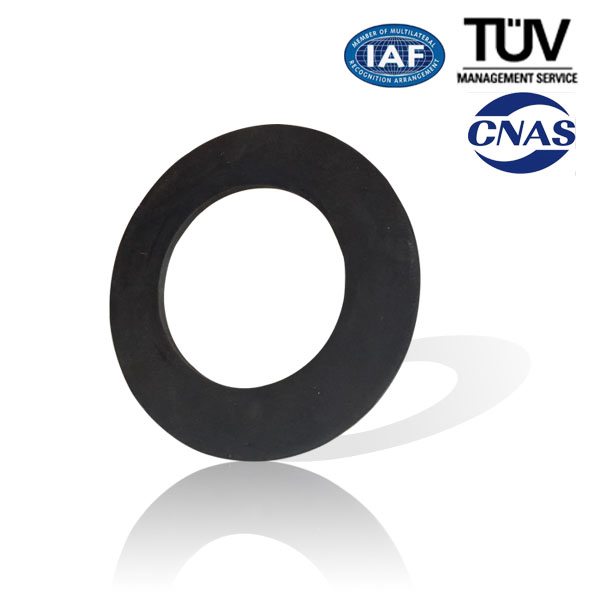
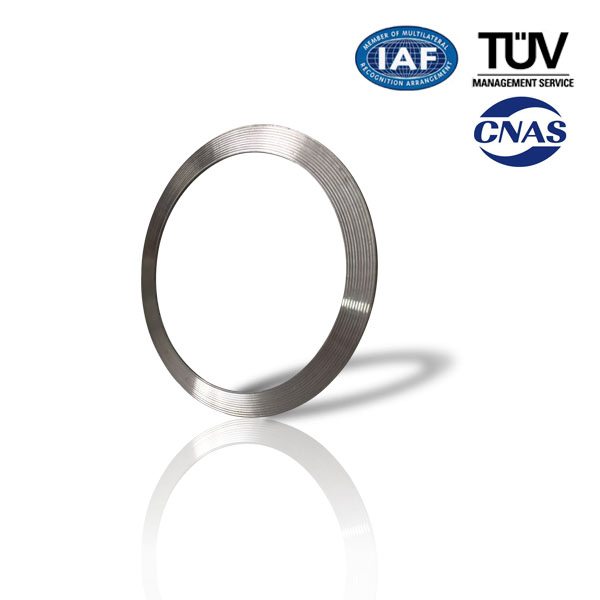
1.Structure
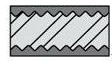
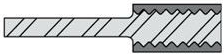
Serrated Gasket is made of machined flat metallic plate with waved or corrugated surface in 90 degree angle.
The Serrated Gasket with inner and outer rings or composite gasket attached with flexible graphite or Teflon sheet are available depending on the working location and requirement.
2.Characteristic
Serrated Gasket is an idea gasket used in low pre-tightening, the soft sealing surface avoid metal to metal touch, can be combined reliably and closely, protect flange not to be damaged. This kind of gasket is suitable to high pressure and high temperature location. Strong corrosion resistance, stable and reliable sealing function.
3.Gasket Typ
Basic Type With outer Ring
4. Working Environment
Working Temperature:~650℃
Working Pressure:6.4-16.0MP
Min. Pre-tightening:y=70MPa
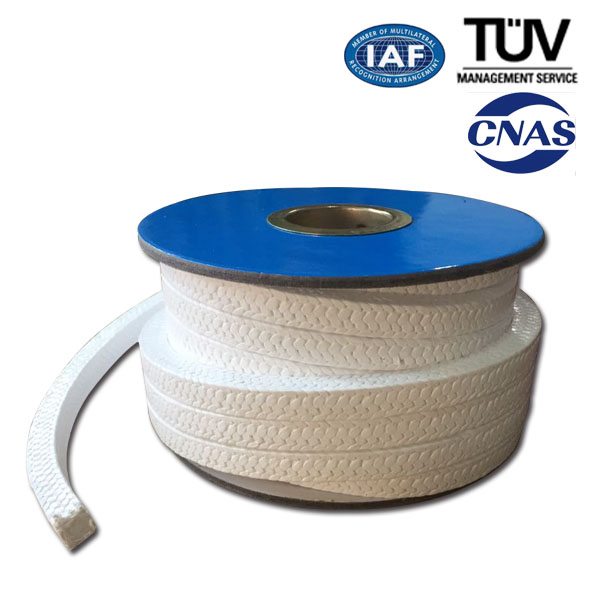
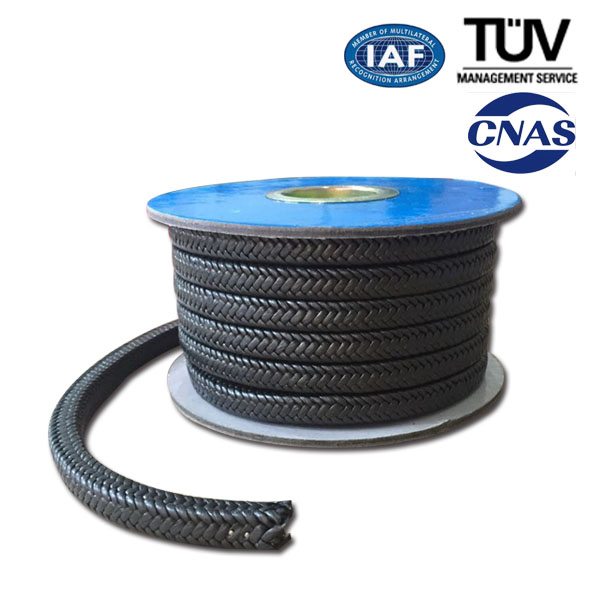
Product detail pictures:
Related Product Guide:
A Look at the Molded Gasket
O-Ring Sizes for Industrial Applications
Wholesale Price Serrated Gasket to Comoros Manufacturers, The product will supply to all over the world, such as: , , ,