Low MOQ for PTFE Braided Gland Packing to Plymouth Importers
Low MOQ for PTFE Braided Gland Packing to Plymouth Importers Detail:
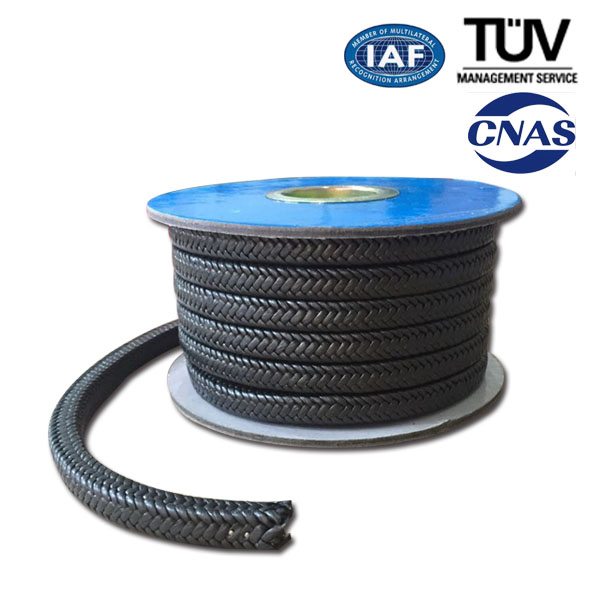
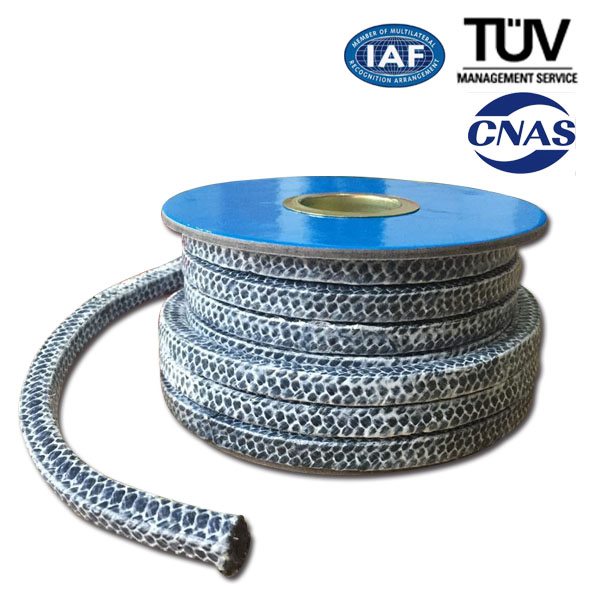
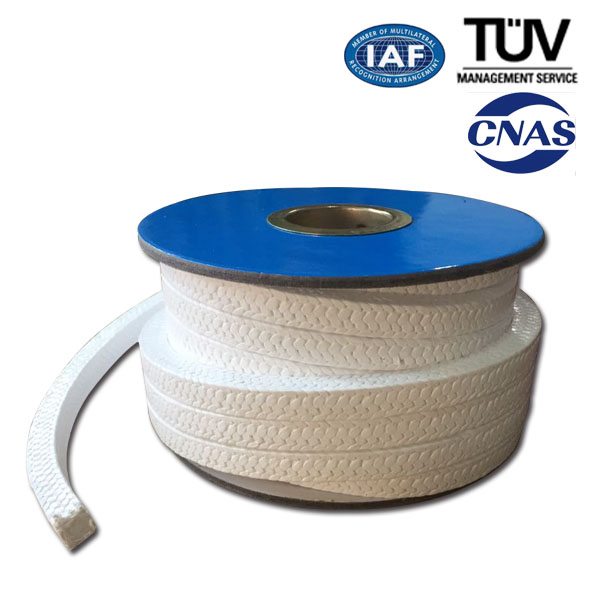
Braided with 100% expanded PTFE, soft character, super fiber strength, ideal abrasion resistant material.
Special porous structure of the fiber can better absorb and reserve lubrication and heat conductive agent useful for the sealing of packing to assure of consistency of lubrication and heat conductive agent, great reduction of possibility of efficacy loss. Much better meets demands of rigid using conditions.
With the exception of very few chemicals, resists almost medium.
Technical Data Sheet
|
|
Rotating |
Reciprocating |
Valves |
|
Pressure |
2Mpa |
15Mpa |
20Mpa |
|
Shaft Speed |
10m/s rotary |
||
|
Temperature |
-200℃~+280℃ |
||
|
PH Range |
0~14 |
||
Application Area
Rotary and reciprocating plant in the food processing, pharmaceutical, special chemicals, and pulp and paper sectors.
It is particularly recommended for sugar and chocolate processing, and fine paper production.
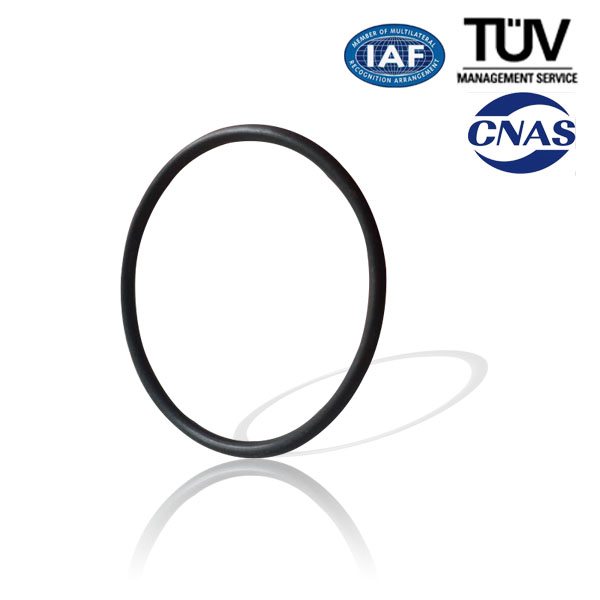
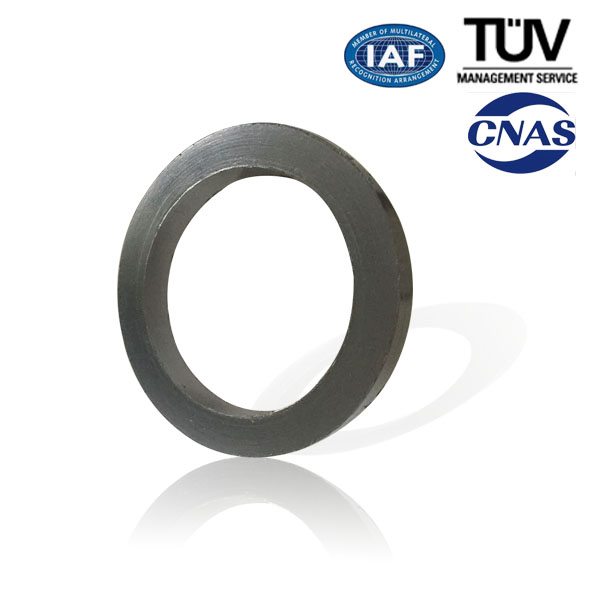
Product detail pictures:

Related Product Guide:
Useful Tips For Installing The Teflon Envelope Gasket
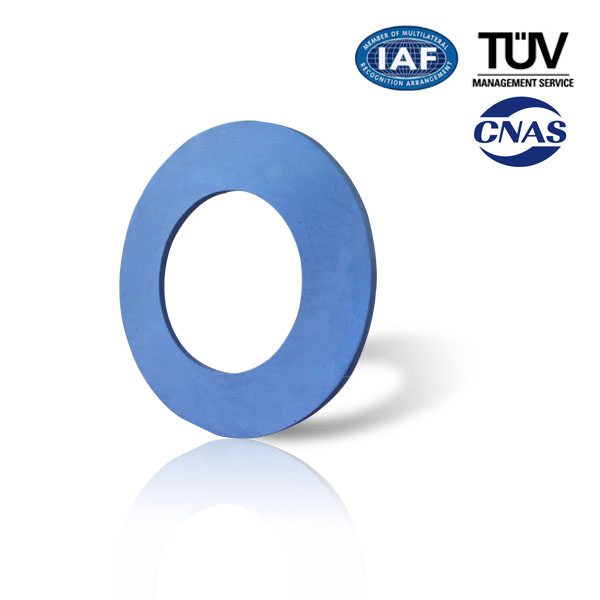
What Is A PTFE Ring Gasket?
Low MOQ for PTFE Braided Gland Packing to Plymouth Importers, The product will supply to all over the world, such as: , , ,
Some outboard motor jobs are more difficult than others however having the correct information is the key regardless of how big the job is. Performance Product Technologies https://www.perfprotech.com not only offers products but also the Technical Information and How-To videos to help you get the job done on your own.
Replacing the Lower Unit Seals on a Mercury Outboard motor requires having the correct tools. This video will show you exactly which tools you’ll need as well as how to do the job correctly.
Motor Diagrams
https://www.perfprotech.com/mercruiser-parts-finder/umodel/16949
Special Tools
https://www.perfprotech.com/mercruiser-parts-finder/tools/assembly/10125/320?umodel=16949
Technical Manuals
https://www.perfprotech.com/mercruiser-parts-finder/servicesupport-material/assembly/10125/0?umodel=16949
Video Timeline
Draining the gear Lube – 0:15 – 0:30
Pressure Testing for Leakage – 0:54 – 1:50
Disassembling the Water Pump – 1:55 – 2:18
Oil Seal Carrier Removal – 2:19 – 2:56
Bearing Carrier Removal – 2:57 – 3:15
Removing the Seals form the Bearing Carrier – 3:17 – 4:15
Installing Bearing Carrier Seals – 4:20 – 6:20
Replacing the Bearing Carrier O-Ring – 6:21 – 7:07
Replacing the Oil Seal Carrier Seals & O-Ring – 7:10 – 8:58
Replacing the Shift Shaft Bushing/Cover Seals, O-Ring & Gasket – 9:00 – 10:20
Reinstalling the Shift Shaft Bushing/Cover – 10:23 – 10:57
Reinstalling the Oil Seal Carrier – 11:00 – 11:14
Reinstalling the Bearing Carrier – 11:16 – 12:42
Reinstall Water Pump – 12:43 – 13:48
Pressure Checking the New Seals – 13:49 – 14:21
Reinstalling the Lower Unit – 14:22 – 15:12
Testing – 15:13
List of Required Sealants – 15:20
List of Required Tools – 15:34


